My partner sells a lot on eBay and she takes lots of pictures to include in the listings. She prefers to use our Canon PowerShot SX230 HS over my Nikon DSLR. It is easier to handle and much easier to operate. But the flash, like most on-camera flashes, is awful.
A typical light ring attaches to a camera around the lens to create a ‘halo’ of light. The idea is to project the light onto the subject perpendicular to the lens to reduce visible shadows. They are most often used in macro photography but are useful whenever the subject is close to the camera. They can be purchased for as little as $20 but why buy it when you can build it!
Basically, ring lights are just a circle of small lights arranged around the lens. I’ve been doing a few projects with 12V LED strip lights so I thought I’d give those a go.
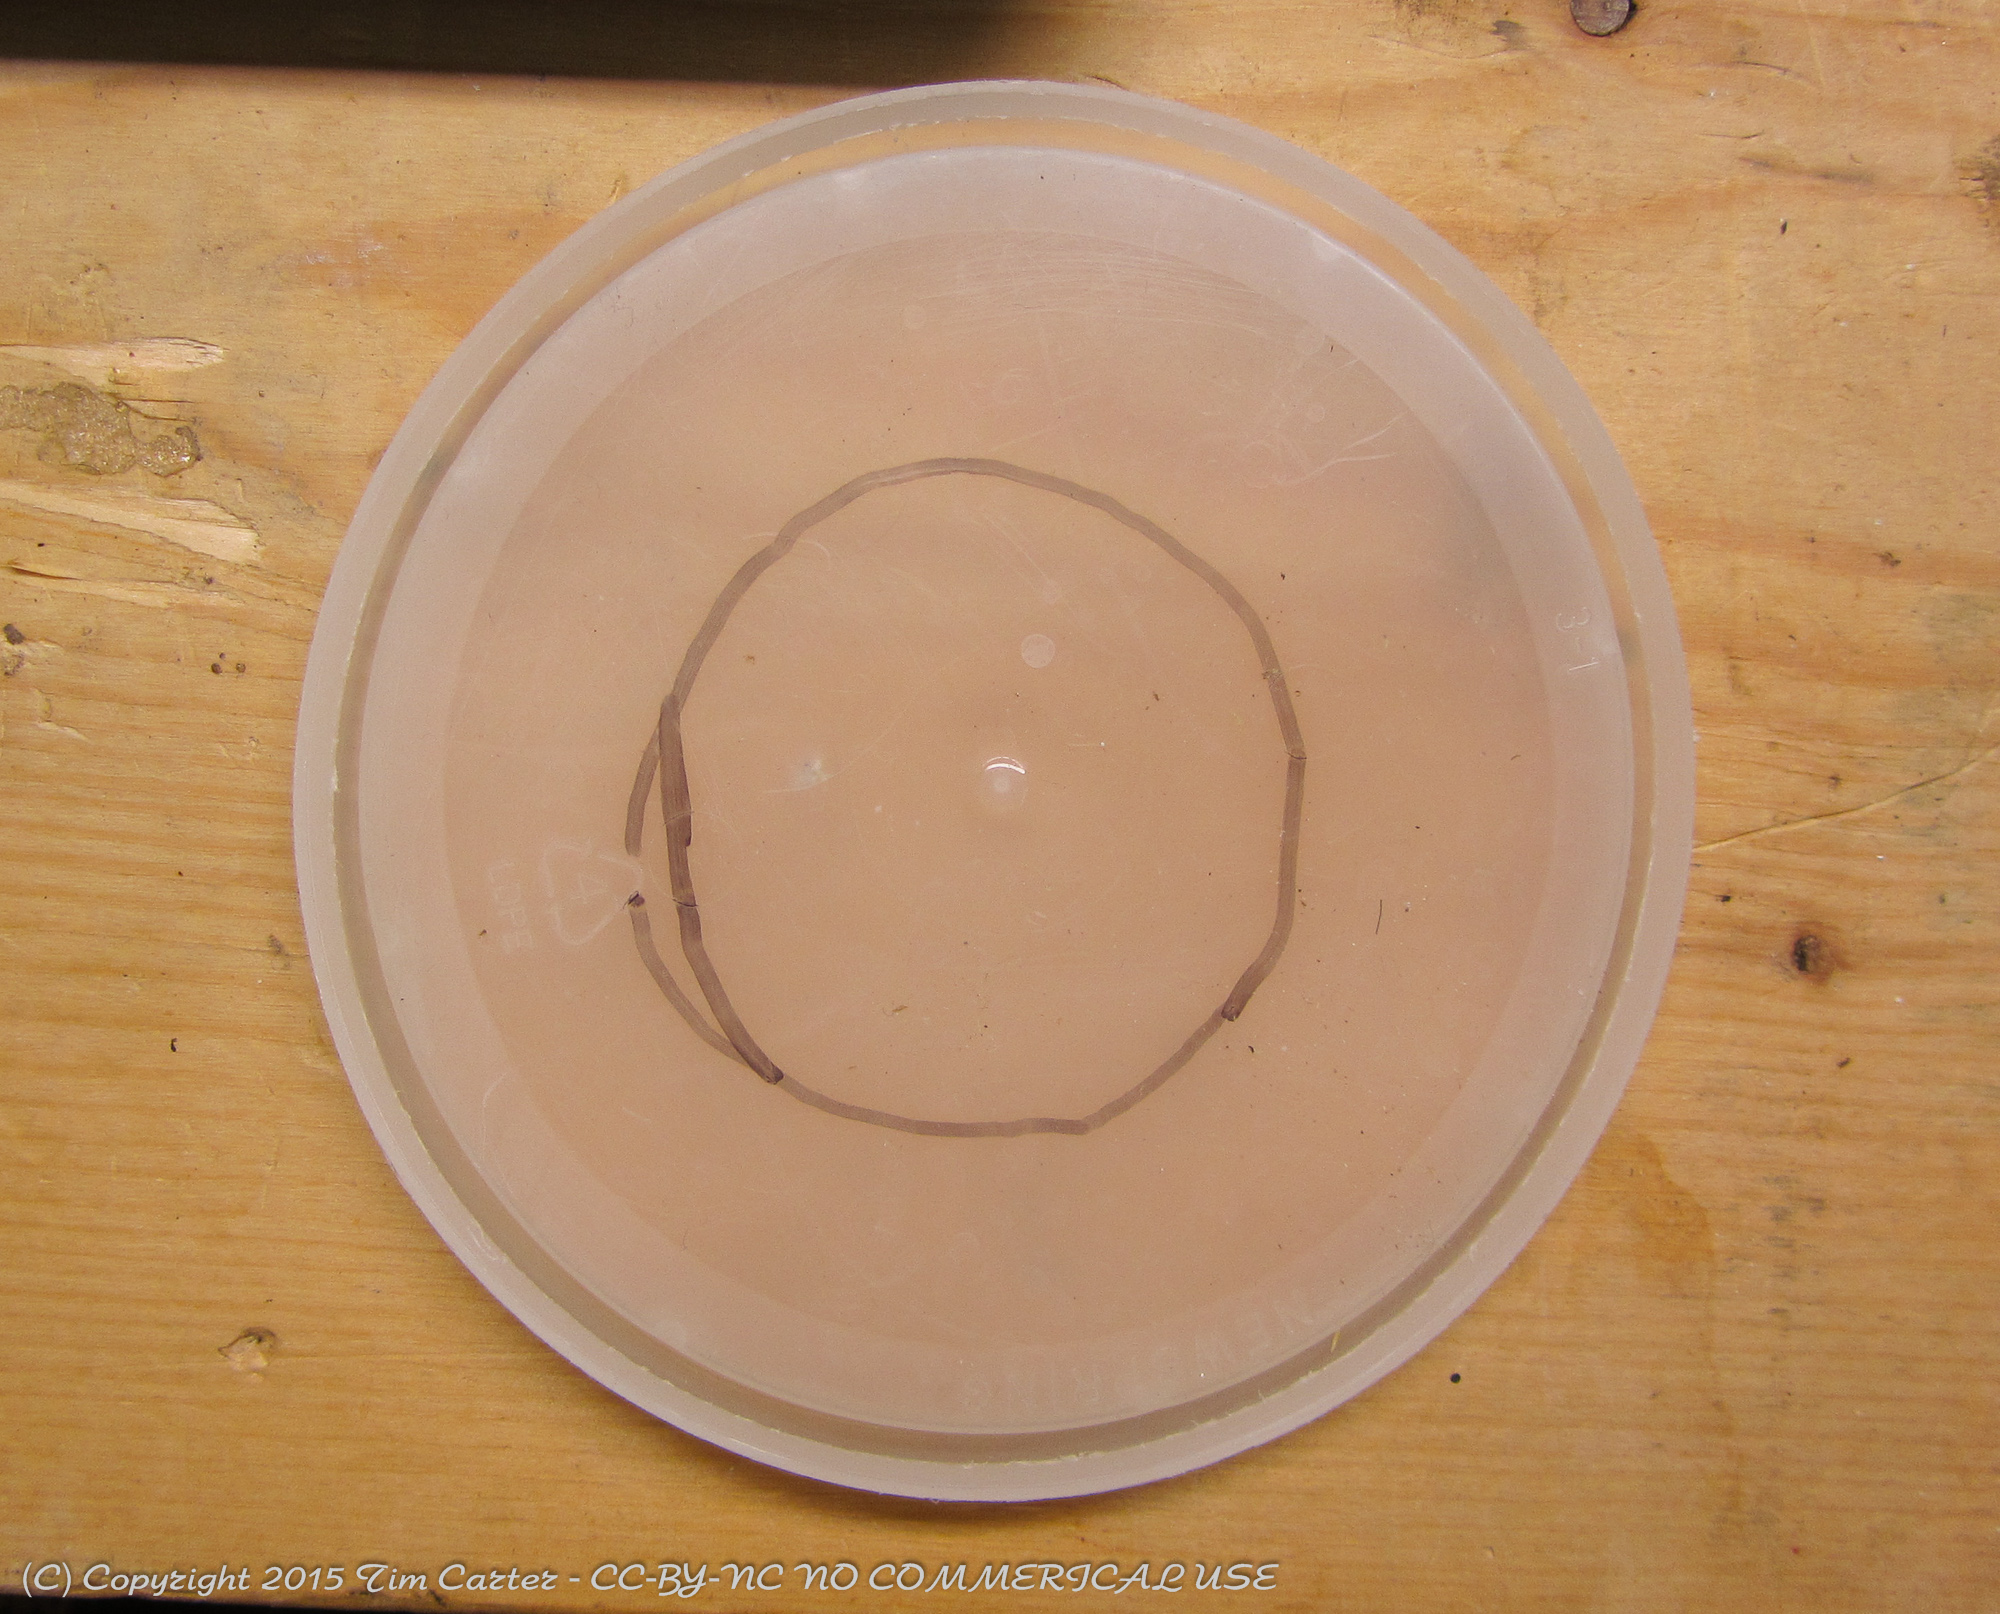 The first step was to create a flat round surface on which to stick the strip lights — quick raid of the kitchen cabinets yielded a spare take-out food container lid, approx. 4 inches in diameter. Perfect! I then placed it on top of the camera lens and traced the outline of the lens barrel onto the plastic with a marker. I then cut out the middle with a razor knife.
I snipped of several pieces of LED strip from the reel. The strips have pre-marked cut points every 3 LEDs. I played with the layout a bit and decided on strips of 6 LEDs (two segments). This arrangement fit inside the lid and minimized the number of solder connections. Using shorter segments would have made the circle much more round but would have doubled the number of solder connections.
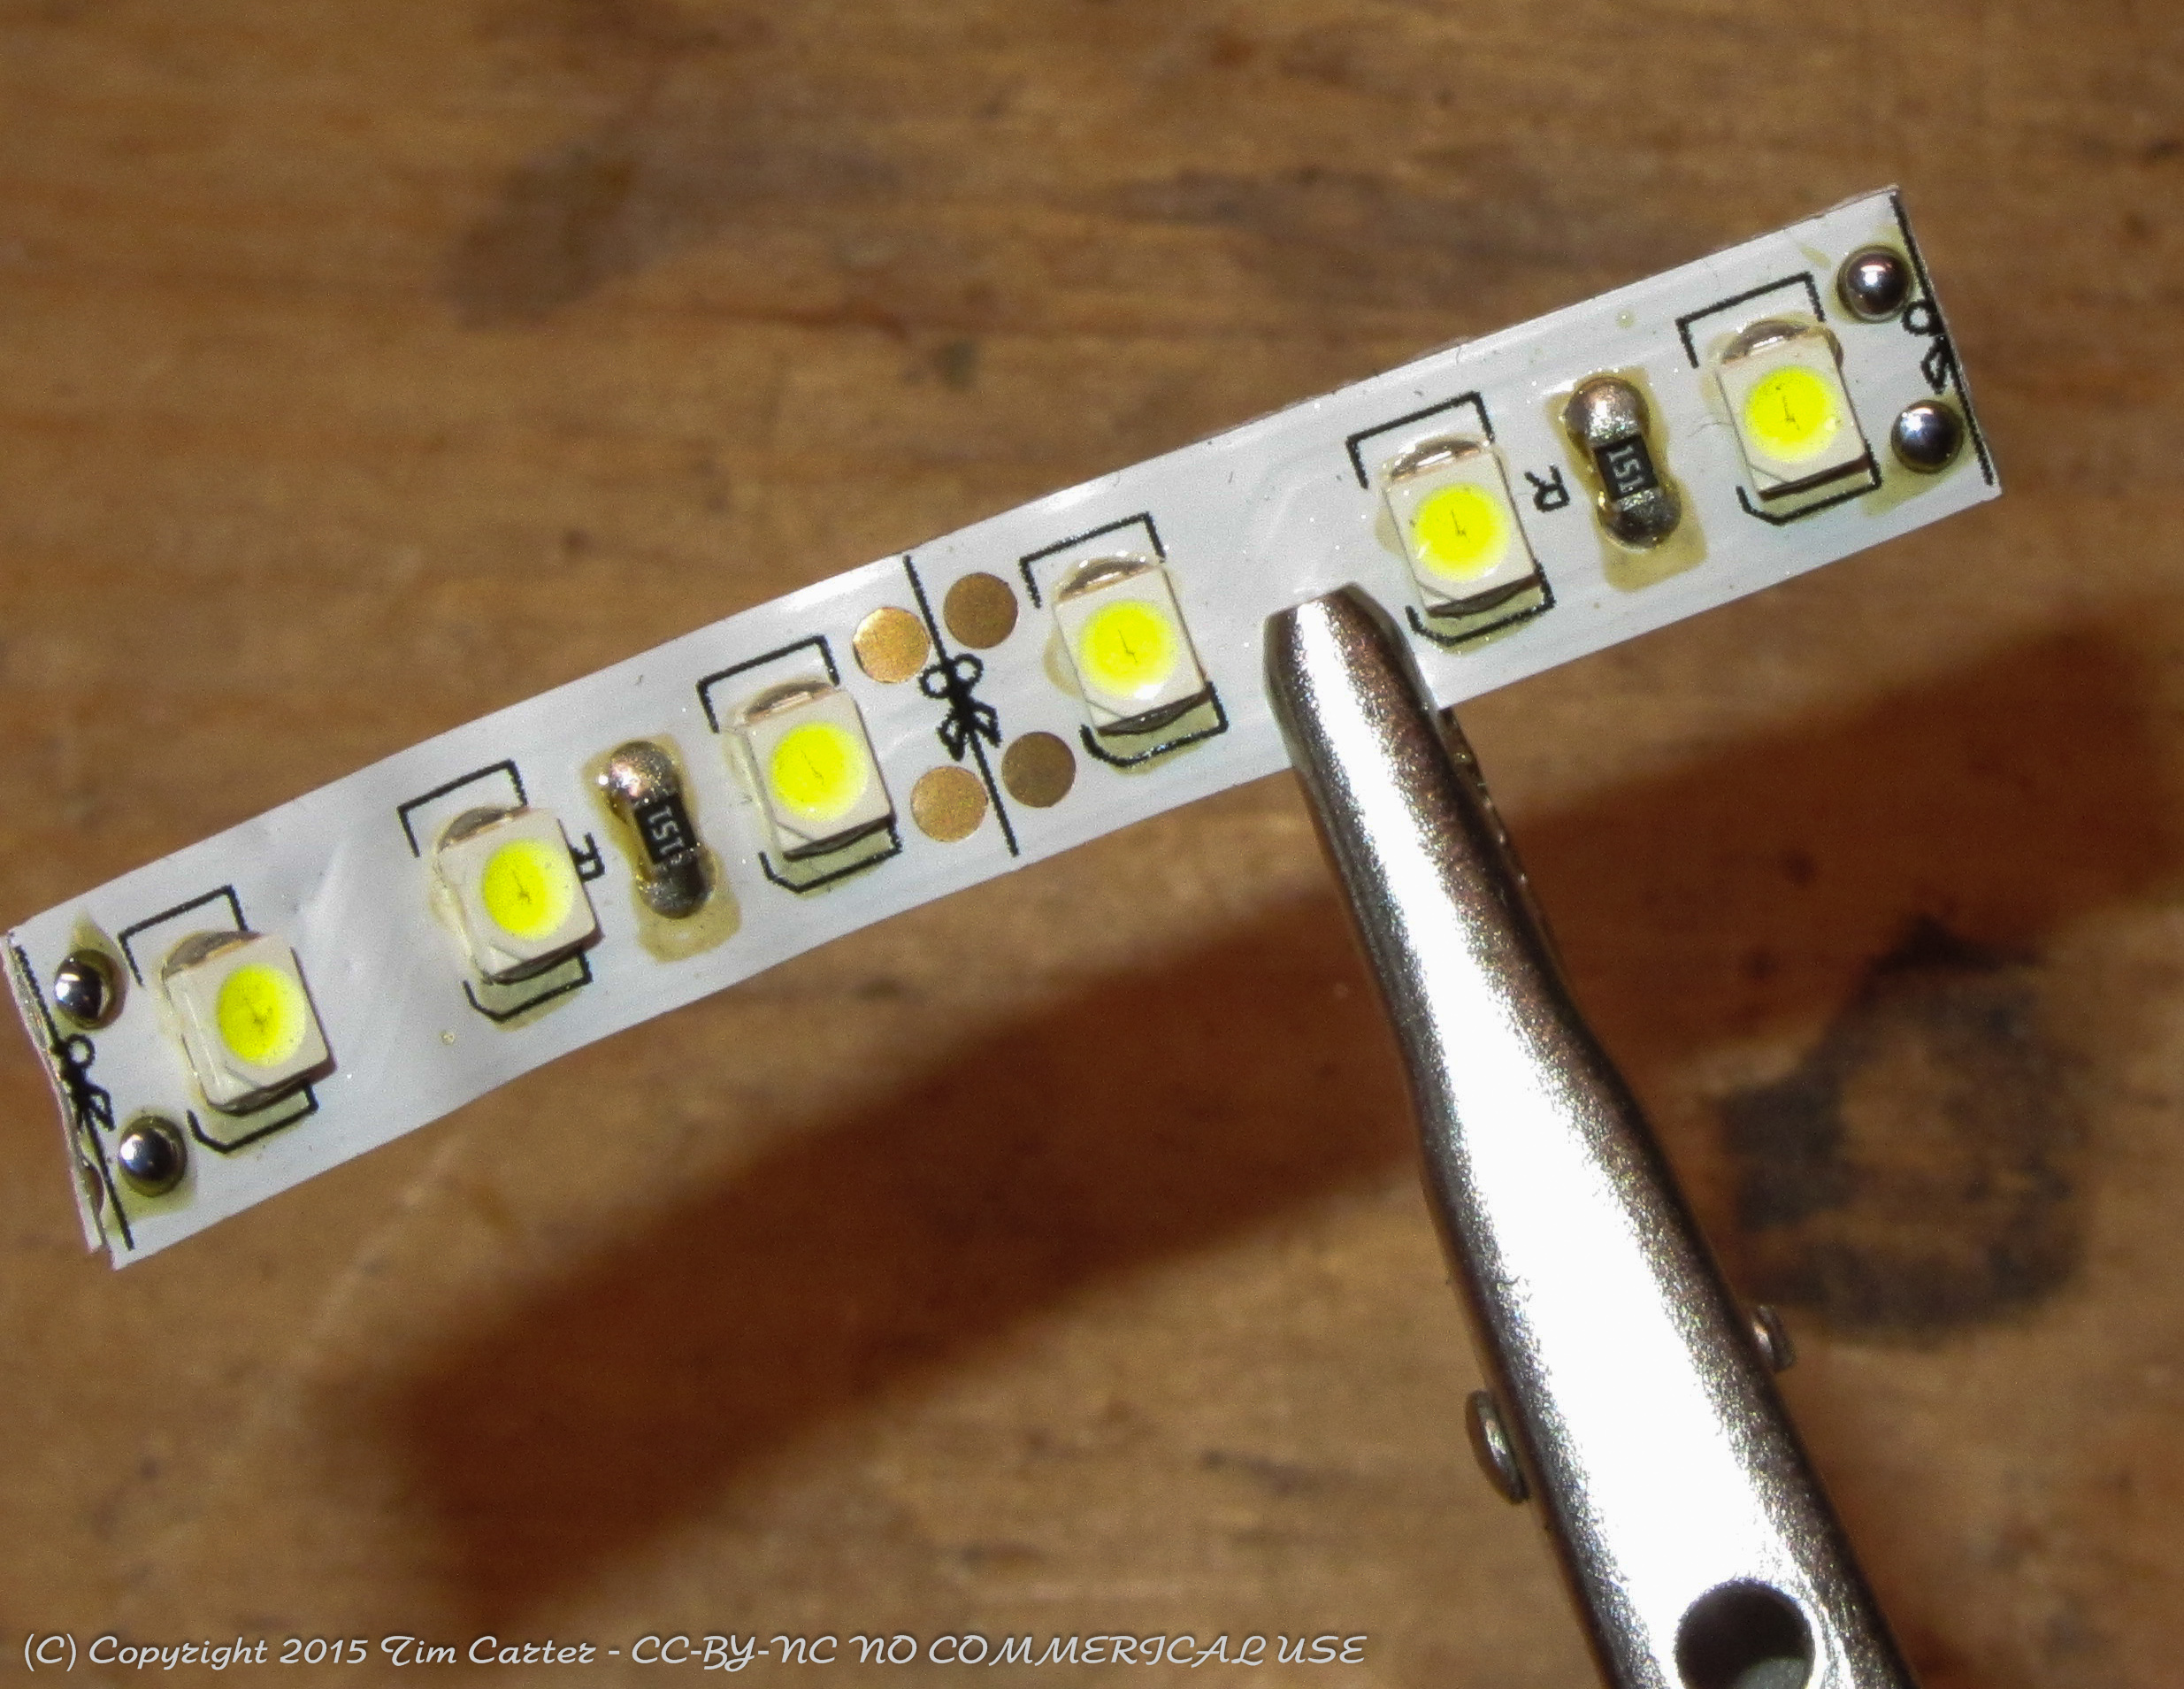 These things are a bit tricky to solder. The pads are very small and the tape is easily damaged by the heat of the solder iron. I pre-tinned each of the pads before adding the jumper wires. If the strip you are using is water-proofed you’ll have to scrape off the coating to expose the copper pads before tinning.
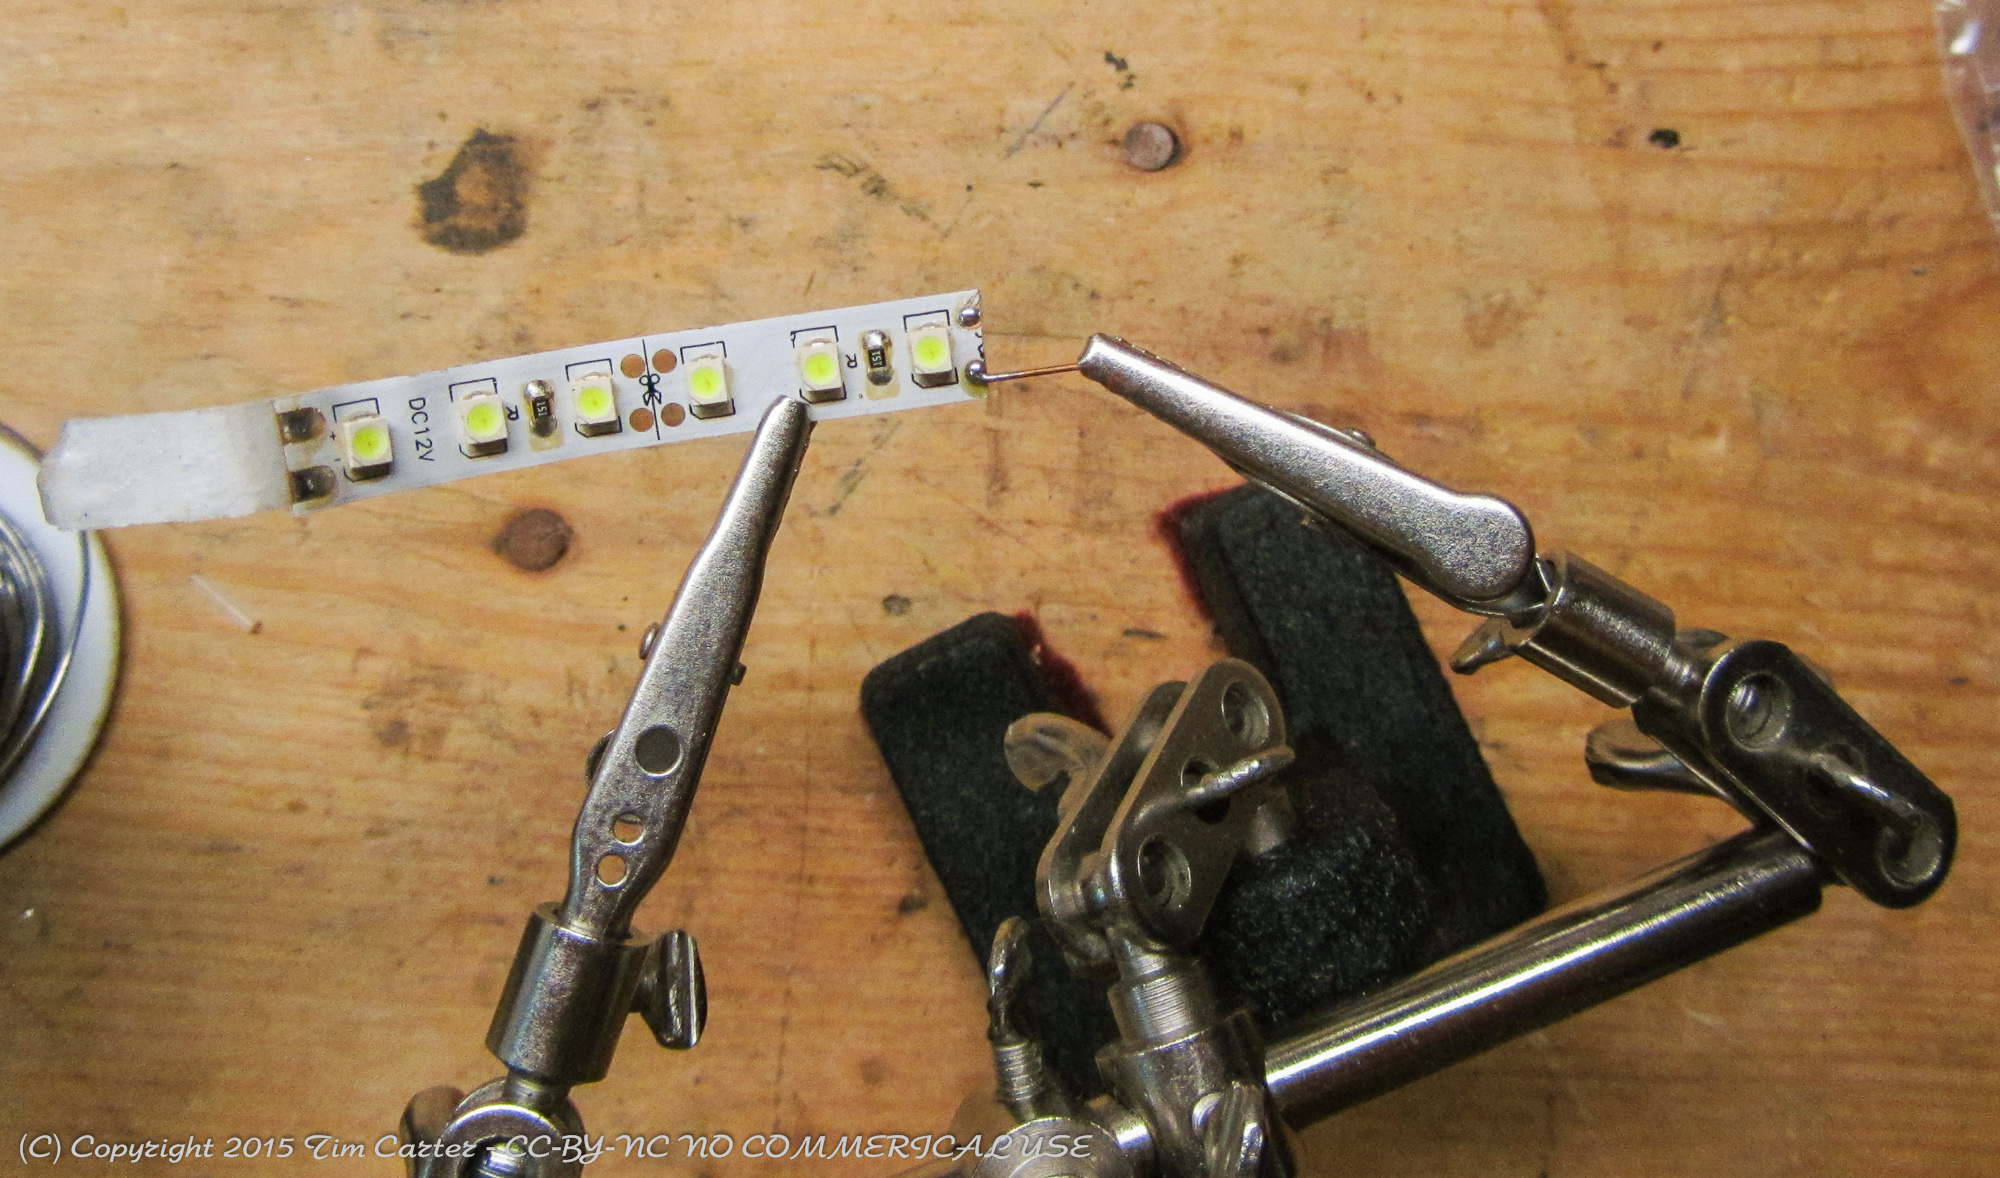 I decided to use solid core wire for the jumpers. It’s a bit easier to work with in such short runs and small solder pads. I removed all the insulation on the short side; it was just burning off anyway. Using a ‘third hand‘ to hold the parts made it much easier to get things soldered.
It is important to maintain polarity between the segments. My strip had some text on the tape so I was able to use it to keep the + sides together throughout.
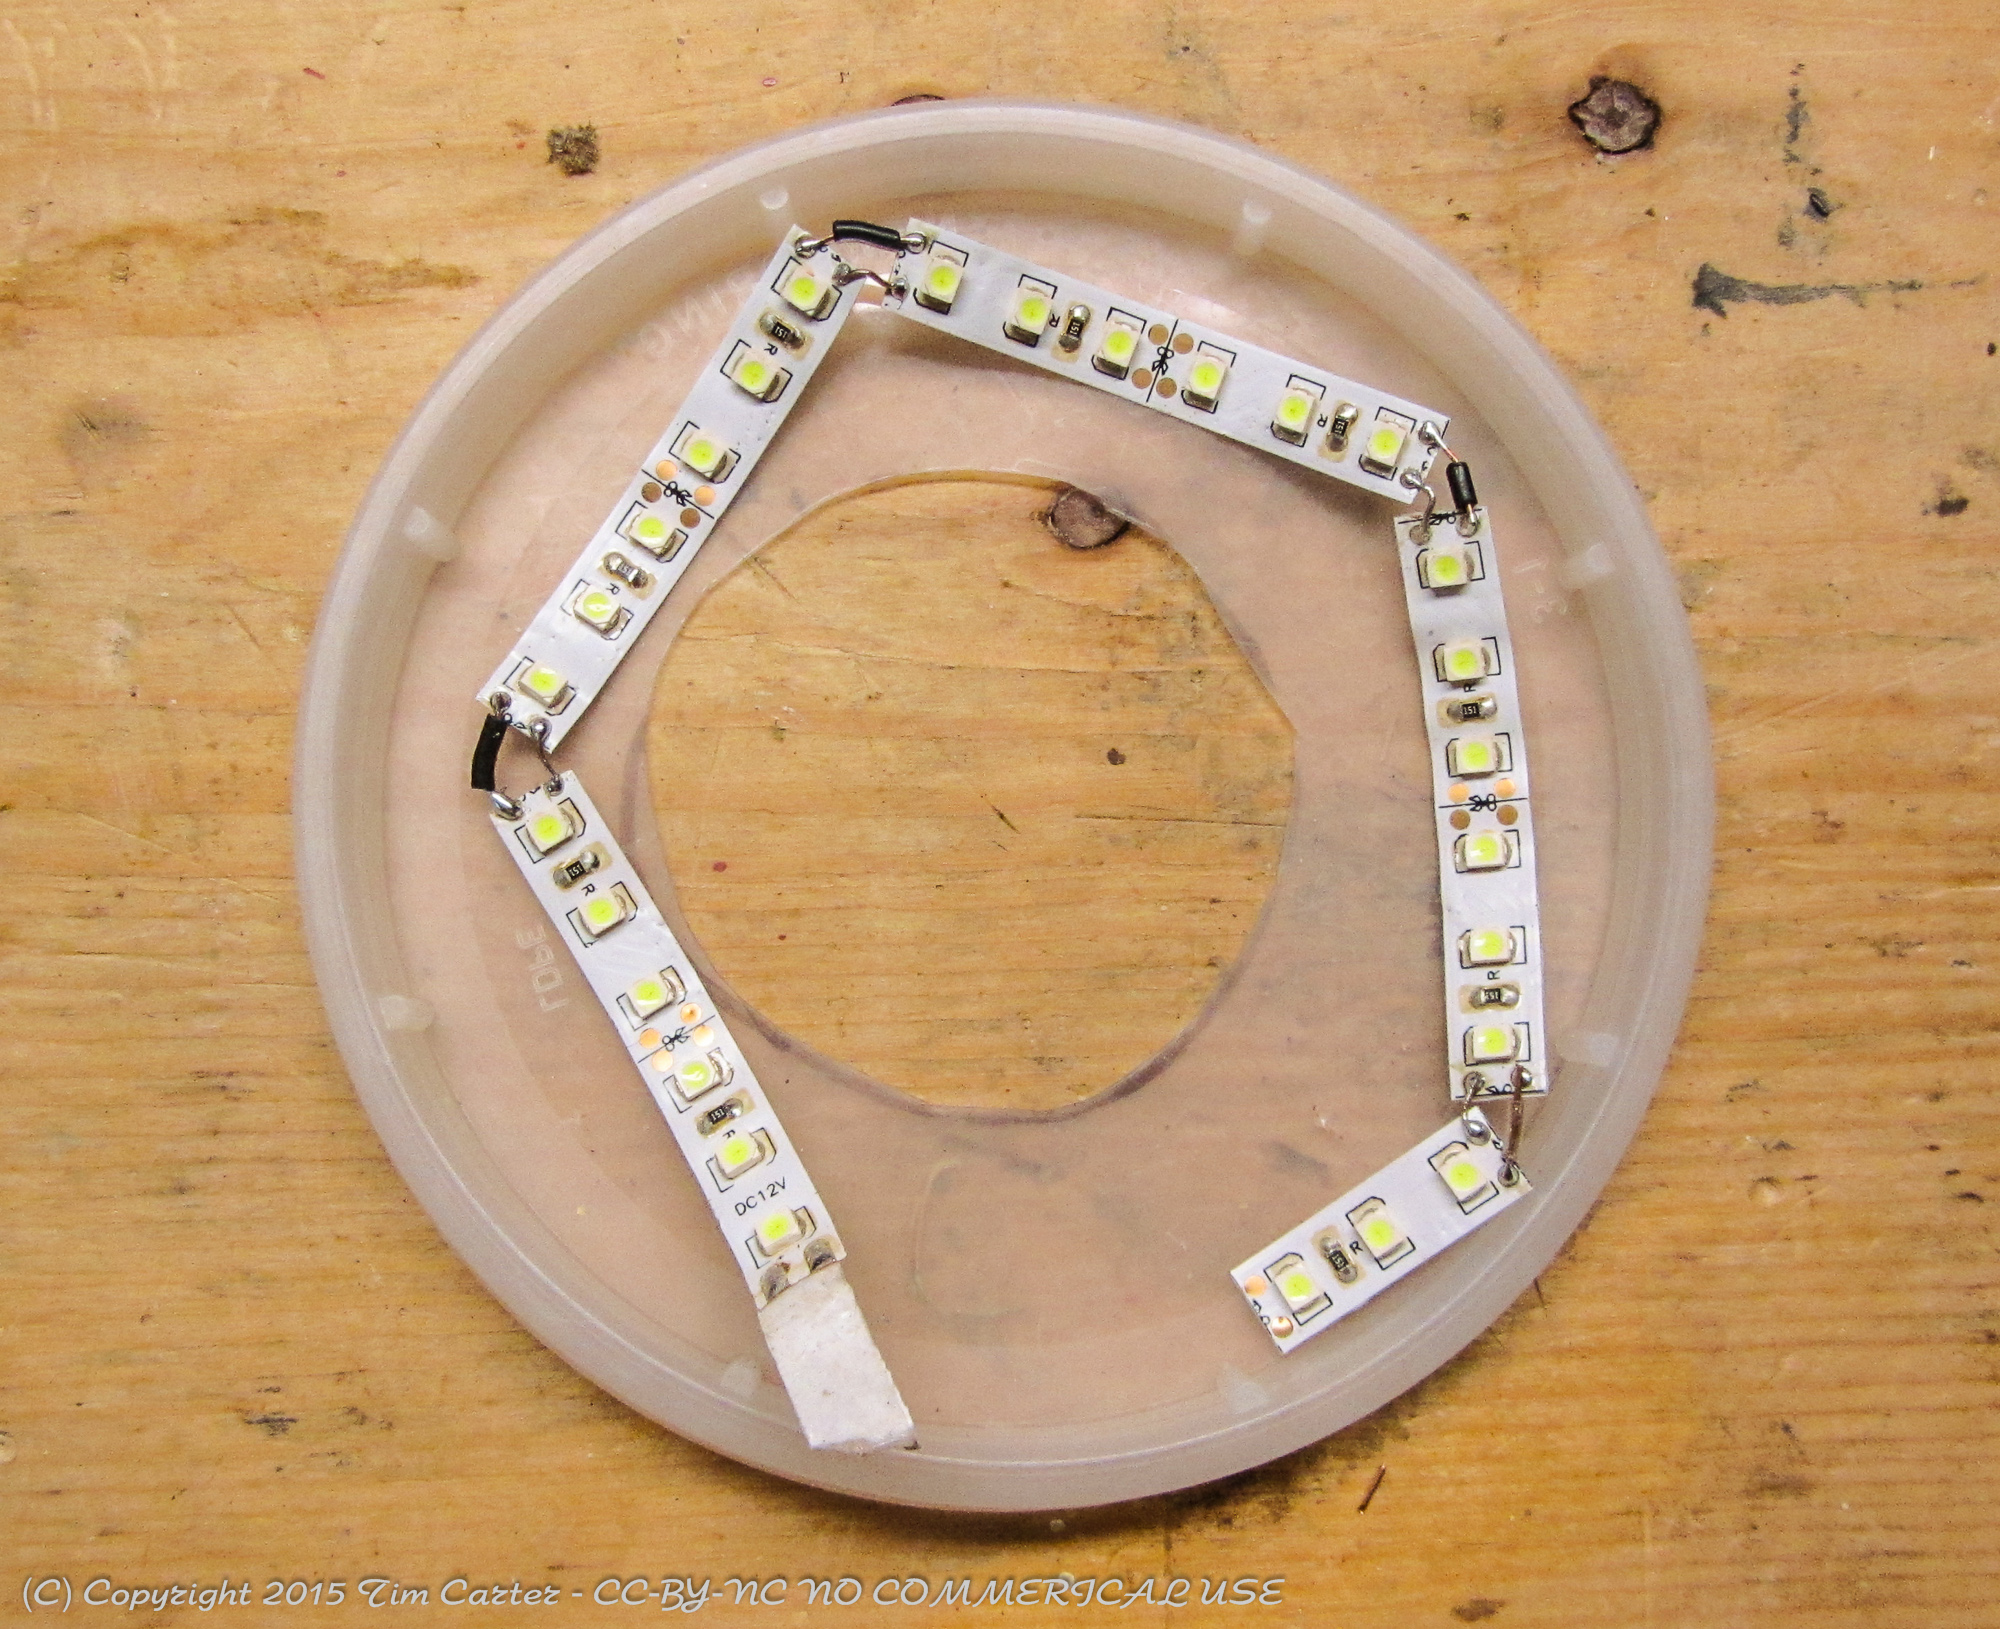 It was difficult to get the angle right between the segments to make an even ring around the cutout. I eventually added a short segment at the end to close up the gap. You should not connect the end of the strip back to the beginning. Once I had all the segment jumpers in place I peeled off the paper from the adhesive backing of the strips and secured them to the plastic cover.
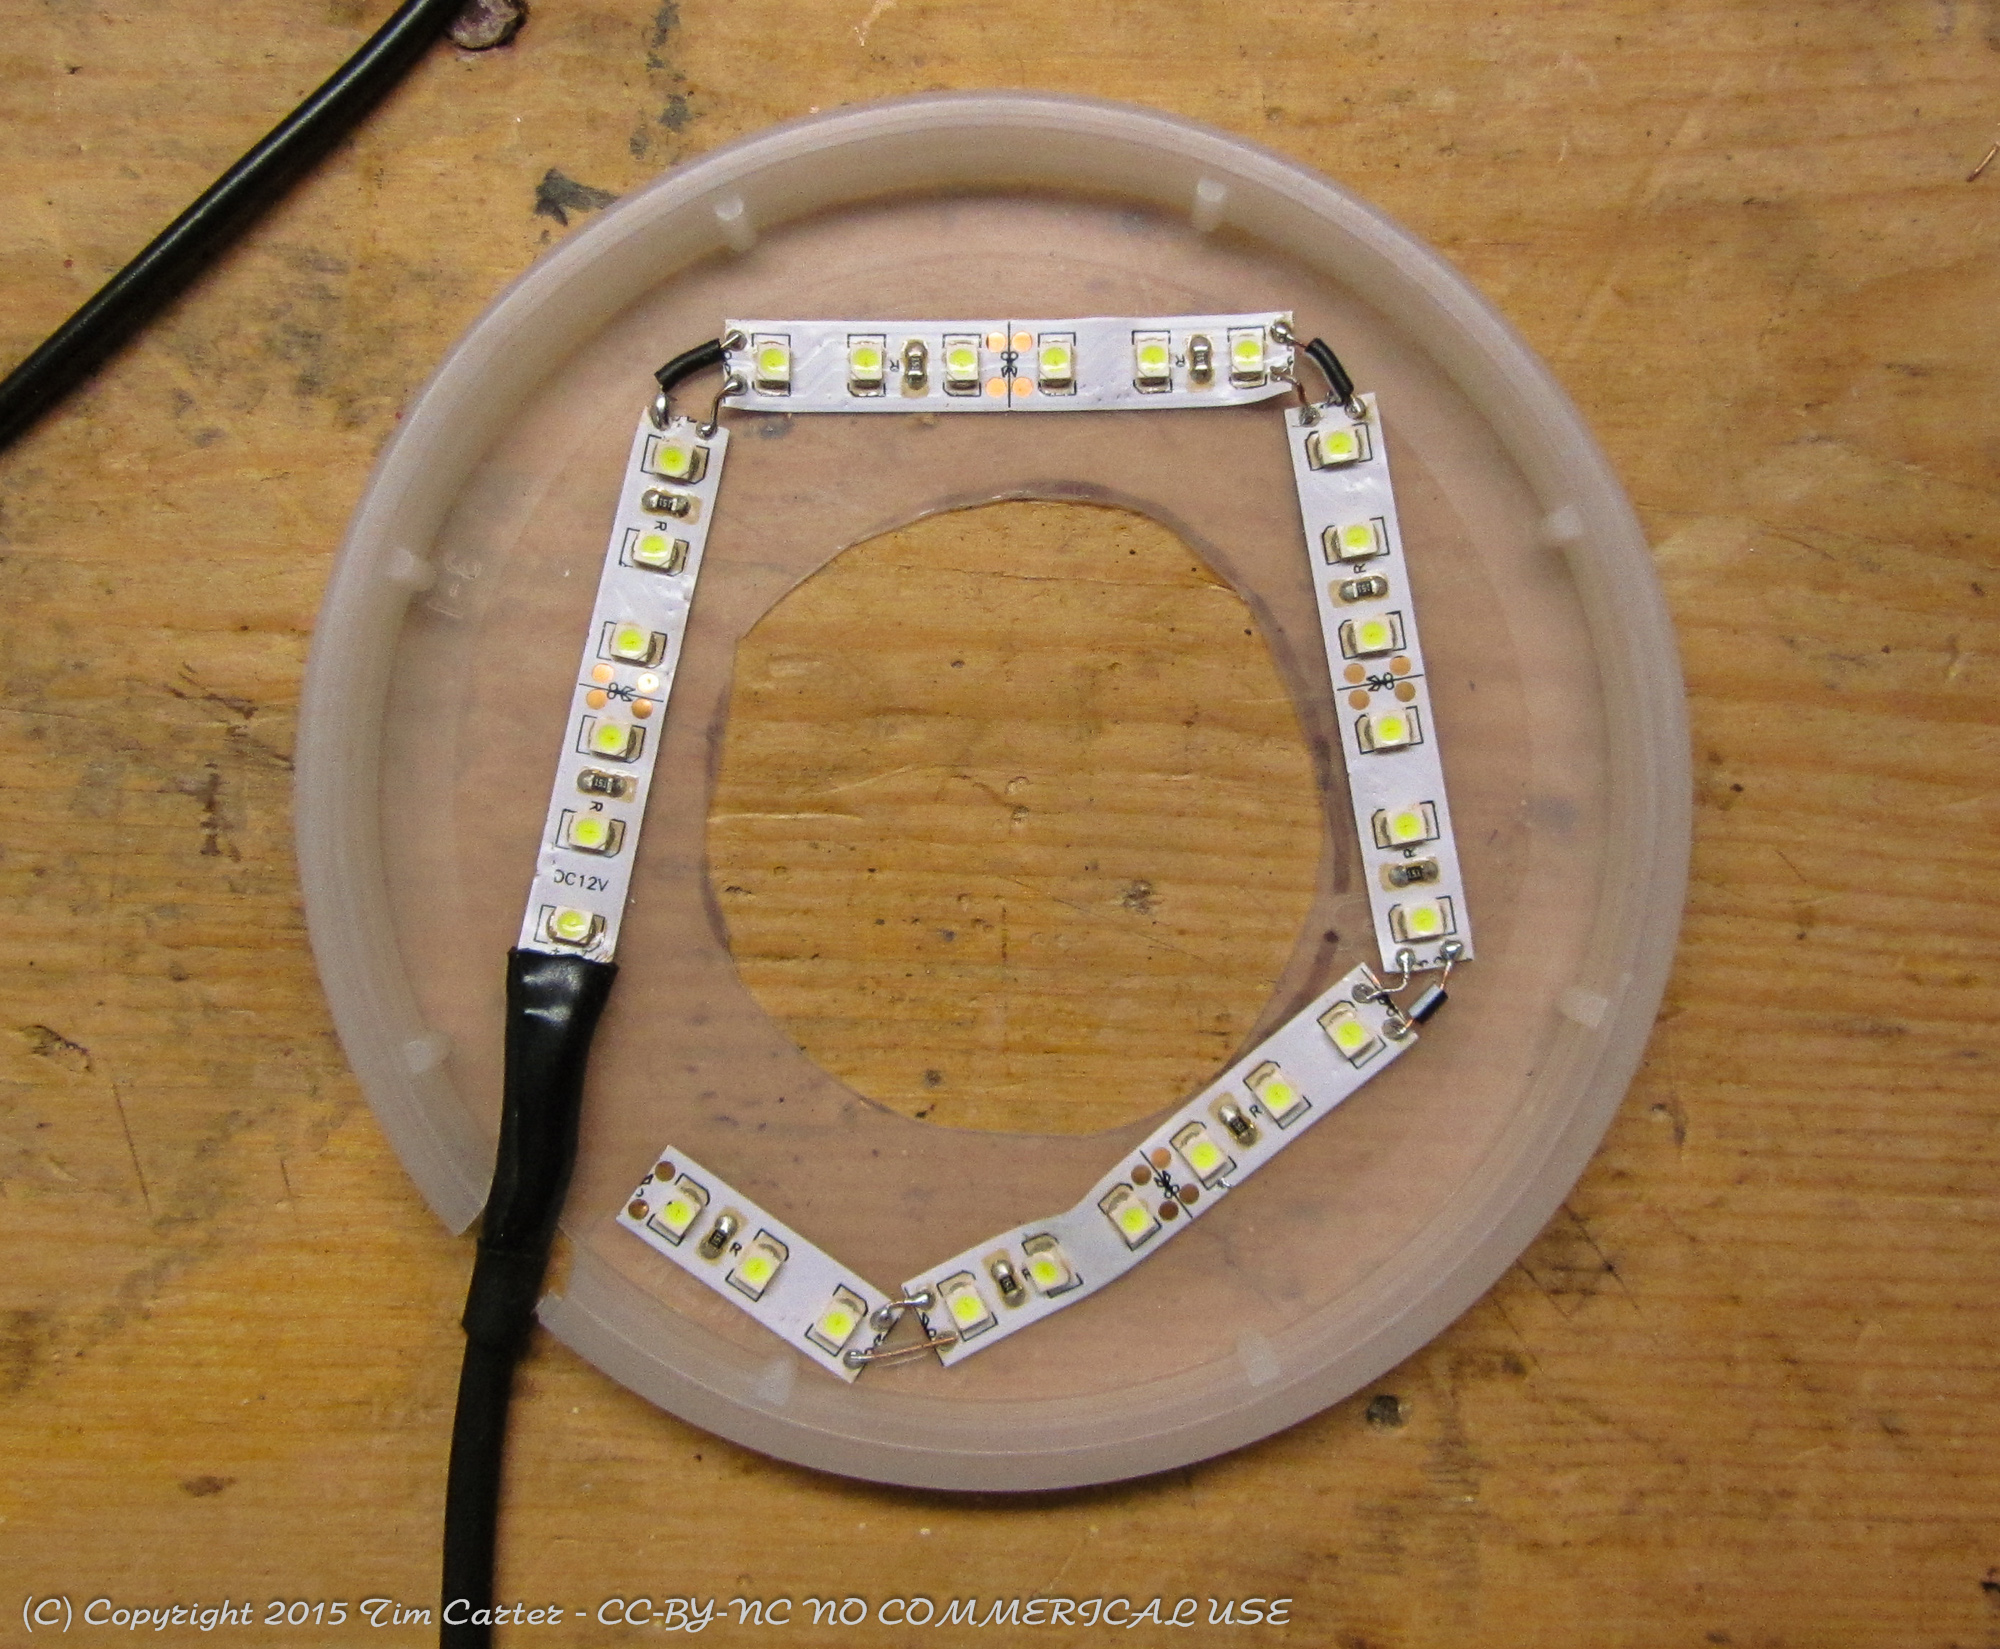 I then cut a power cord extension in half and used the female end to feed the ring. Luckily for me the wire inside the cable was already color coded (red for positive). This connection will get more stress than the others due to the heavy cable and the flexing from use. I put a bit of shrink wrap on the end of the LED strip and over the cable to keep things together.
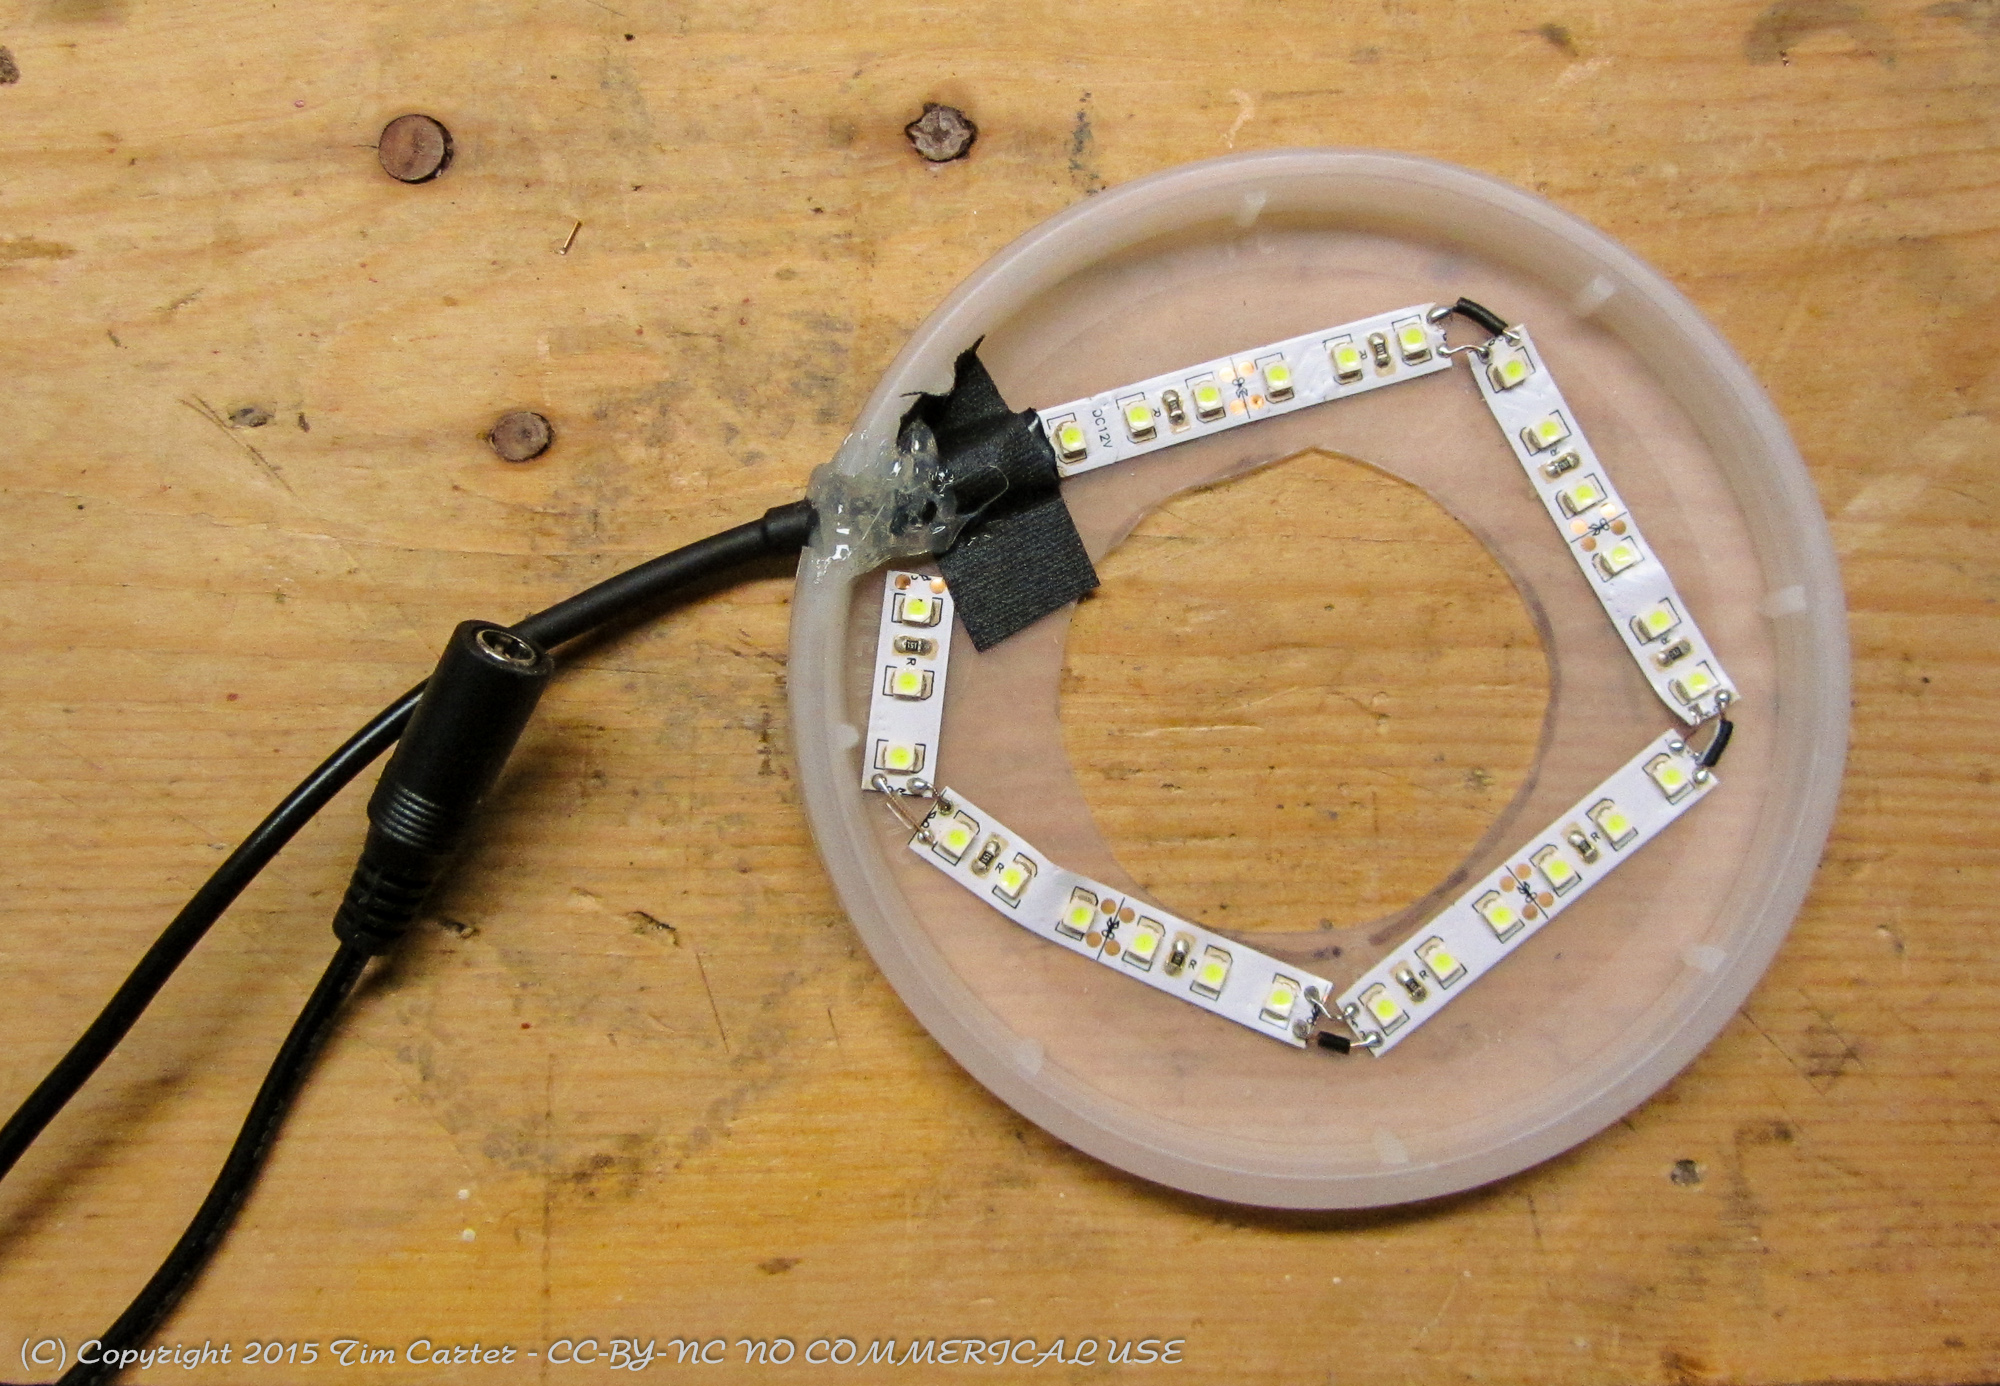 I taped the cable to the plastic cover. I then cut a notch in the edge of the plastic cover for the power cord and filled it in with hot-glue to secure it.
I had planned on using some double-stick tape to hold it onto the front of the camera but it is quite easy to hold it while using the camera so I decided to forgo the tape. This also makes it quite easy to pull the ring off an use it as a hand-held highlight source.
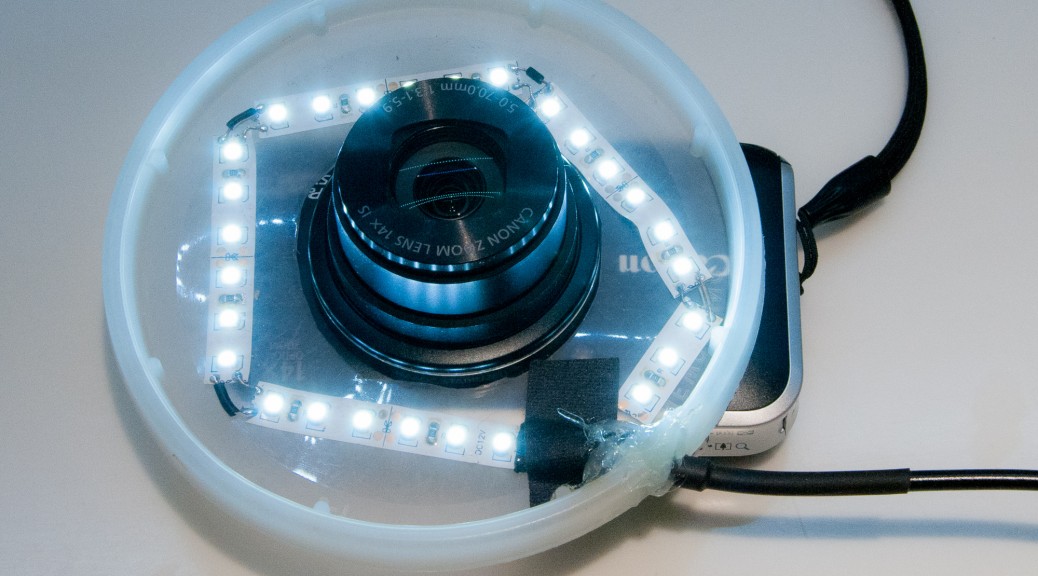
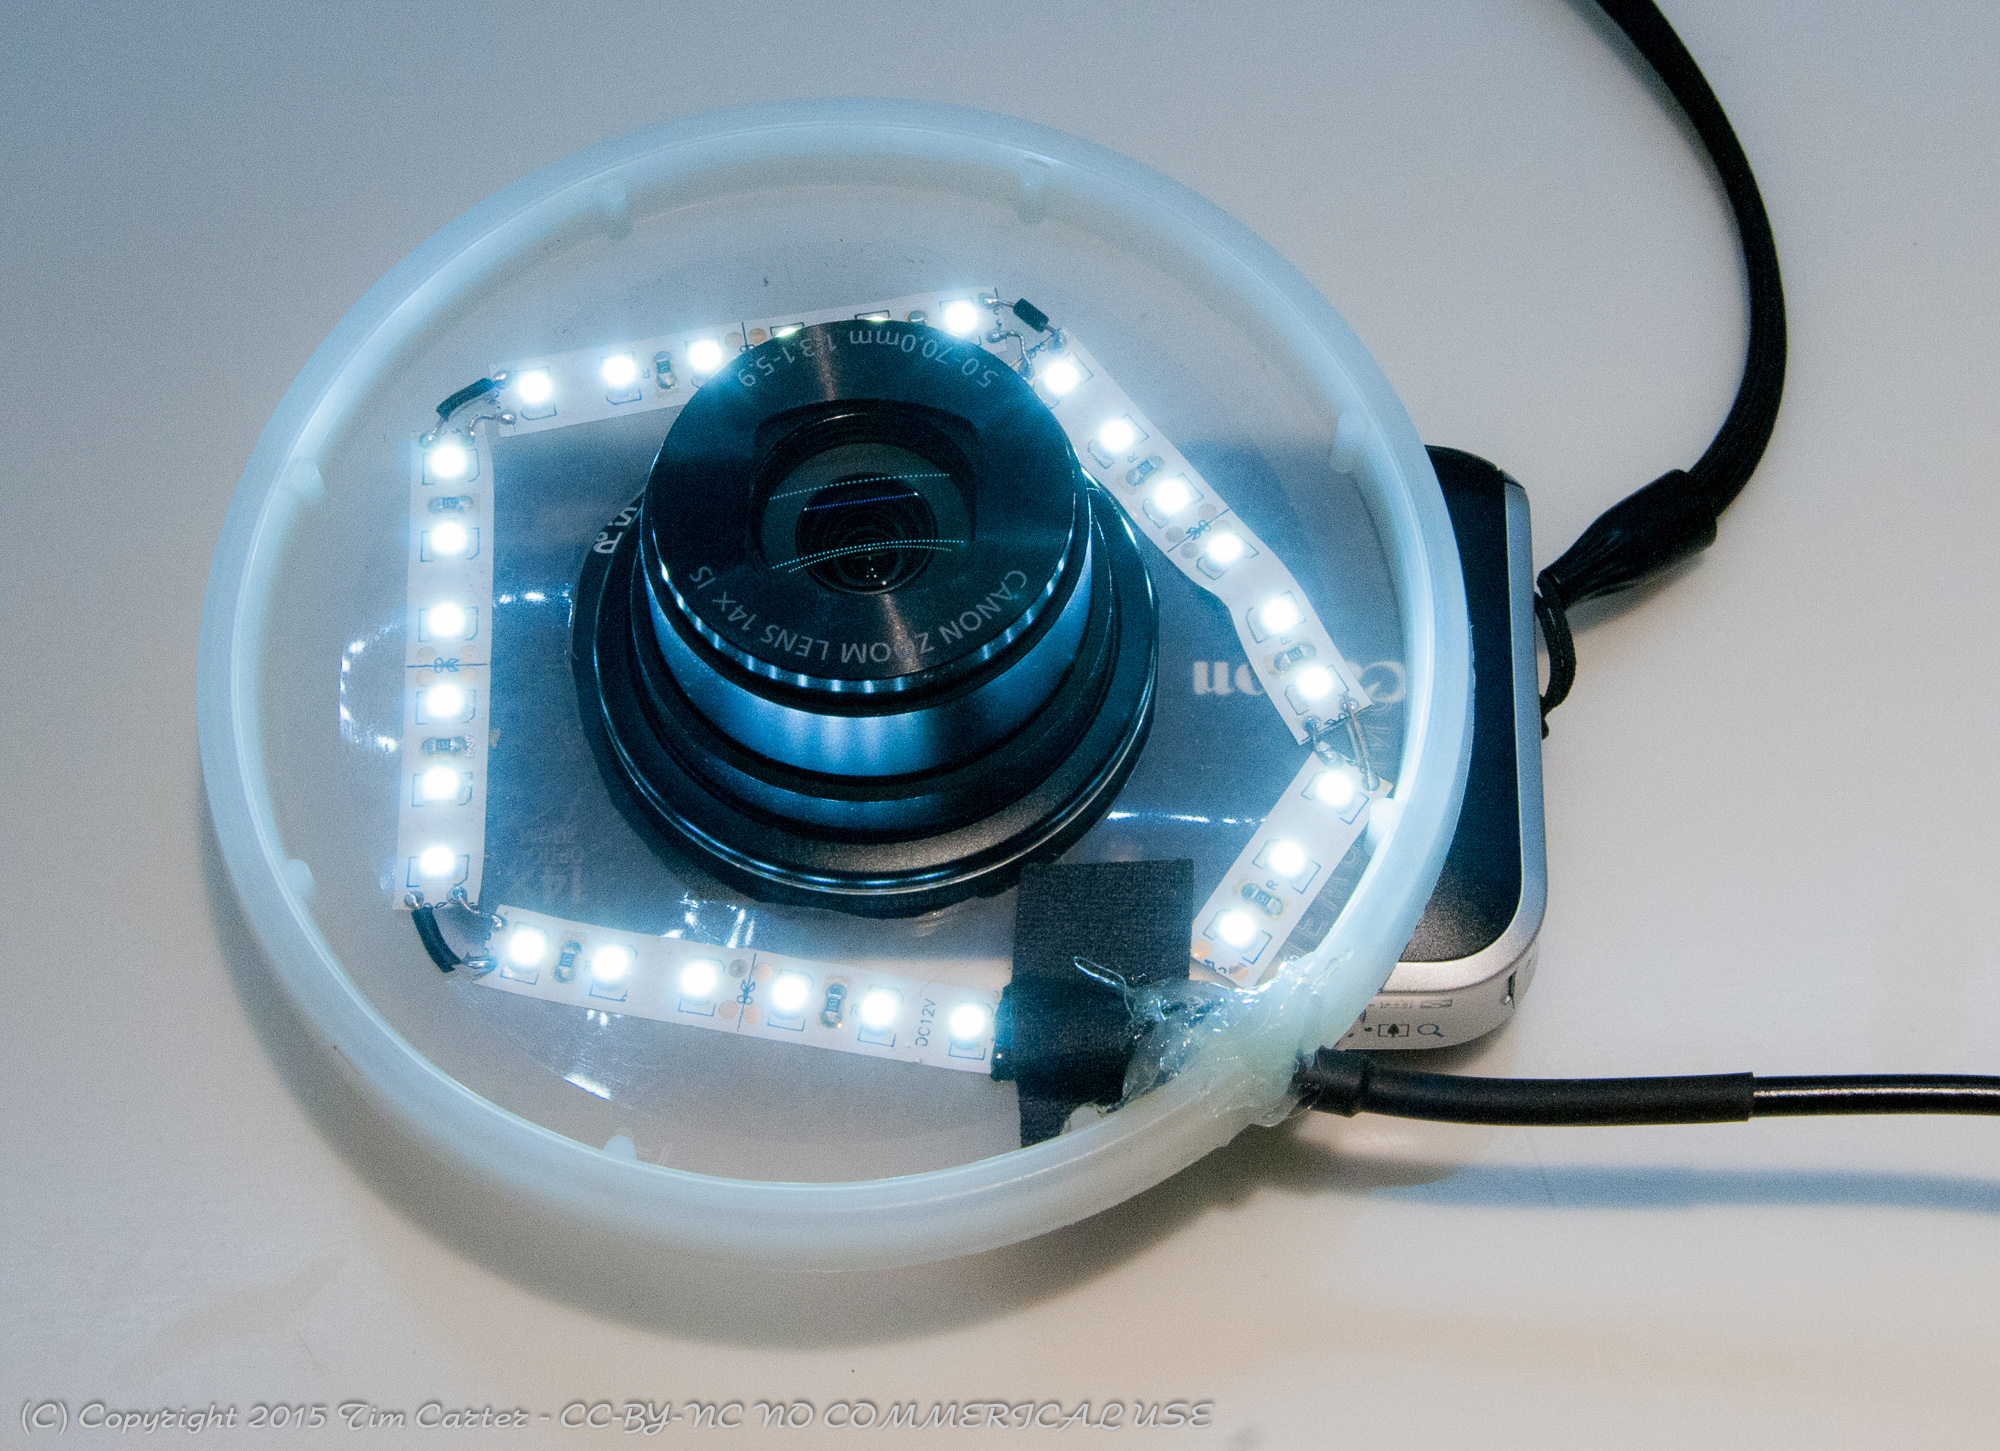 Here is the finished piece in position for use. The power is supplied by a 12V wall-wart power adapter I had laying around. These LED strips are very low power so the capacity of the adapter was not a concern.
One thing to consider before buying the LED strip is the ‘color’ of the light. There are various shades of ‘white’. ‘Warm White’ will tend to be a bit yellow and ‘Cool white’ will be a bit blue. I had a cool white strip on hand so you can see a slight blue tint to the light in the final shot. This is easily corrected in photo processing software, such as LightRoom but it is something you should consider.
I cobbled this thing together in a bit over an hour. If you have never worked with LED strips or your soldering skills are a bit rusty it will take you a bit longer.
Nikon used to make one of those that would work with your DSLR.
I’d guess that they still do. They are quite useful in certain situations. I just too damn cheap to buy one. 😉
Jim Stearns liked this on Facebook.
I should learn to comprehend what I read before making a response…DIY didn’t seem to register, D’oh!
After using it for a bit it really needs a diffuser but that would cut down the light too much. I’ll just deal with the hotspots.
Craig Phillips liked this on Facebook.